Facebook, well known to everyone, is still one of the best platforms from an advertising perspective today. Are you worried that you may have already missed the boat because you’ve never advertised on Facebook, or are you just a beginner trying to advertise successfully? In the flood of information on the internet, it is really difficult nowadays to extract quality information that would actually bring you something in practice. You are in the right place.
If you want to expand your business among people, raise awareness and also earn well, knowing good strategies in Facebook advertising will certainly pay off nicely. This article contains everything you need to properly prepare and successfully launch your Facebook campaign for promoting and selling your products or services. Step by step, you will learn how to set up your own ad and configure all the necessary settings. Let’s get started!
Reasons why it pays to advertise on Facebook

According to official Facebook data, 1.8 billion people are active on the platform daily. In addition, more than 80 million people in business use Facebook pages as part of their marketing strategy, through which they can most easily and quickly get in contact with their ideal customers. As many as 93% of companies are active on Facebook. That says something, doesn’t it?
Facebook ads have proven to have the highest possible ROI (return on investment) compared to all other advertising channels. This means they have the highest return after deducting all invested costs.
The cost per click (CPC) is on average low.
In the previous year, 84 billion US dollars were spent on Facebook advertising.
Structure of the Facebook advertising platform:

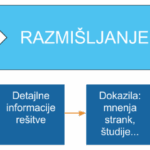
In an advertising campaign, you define your goal and the ultimate purpose of what you want to achieve with your ads. Perhaps you want to bring customers to your website, or you need as many likes, comments and shares of the ad as possible.
In the Ad Set, you define your target audience, meaning those users you want your ads to reach. The purpose of testing target audiences with different interests and different ad appearances is to ensure you get the highest possible return. Just because you think and feel that your choice of target audience interests and ad selection is right doesn’t mean it will have good conversion. Therefore, testing is essential if you want to find a winning advertising campaign.
It is recommended that you set up multiple Ad Sets (two to start with) to determine which ads are most successful based on your defined goal. You will see that not all ads are equally well received by users, and you can eliminate the less successful ones.
Let’s say you sell hair care products and want to check which Ad Set will perform better on two different target audiences. For the first one, you set the interest to, for example, hairstyle enthusiasts, and for the second, the interest of hair salon owners. For each ad set, you also set up two different ads. The first ad can be a video, while the second ad uses an image.
How to set up Facebook Ads Manager?
First, you need a Facebook business page for your business. If you don’t have one yet, simply create one from your profile.
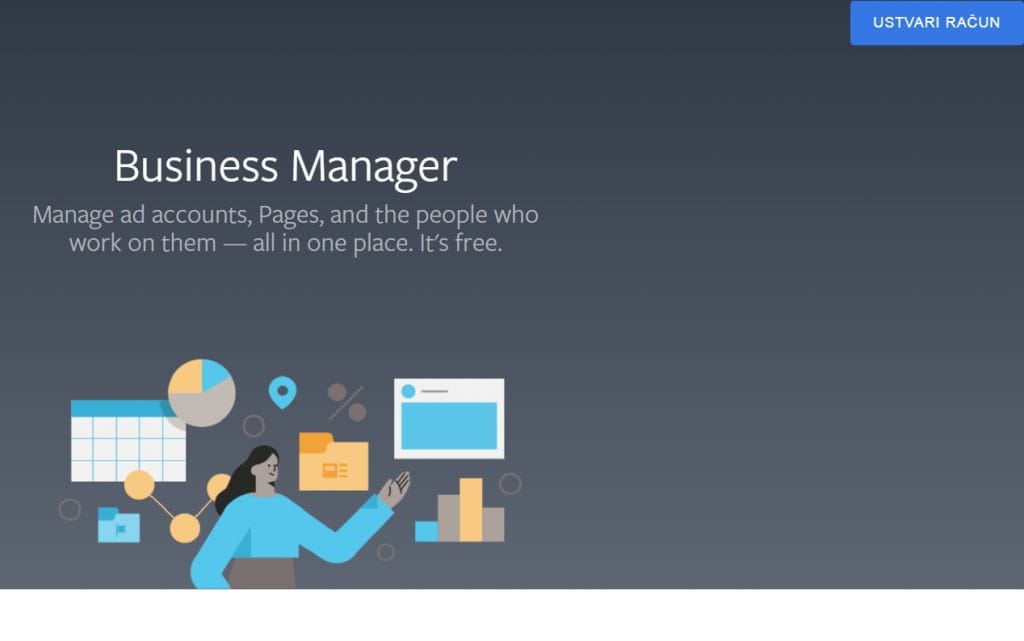
Then on business.facebook.com, create an account (Create account) and enter all the necessary information – your name, your business name, business email, URL of your website or Facebook business page.
On the Facebook Ads Manager home page, you have an overview of all data and updates, everything organized and clearly laid out in one place. In Business settings, you can then set up additional settings. With the help of the navigation menu on the left side, the whole thing is very easy to use. You connect your main Facebook business page, designate the admin and other account users, choose the payment method for ads, and set up Two factor verification – a very important security protection for your account that prevents breaches with two-step verification. That’s essentially everything you need in terms of settings to get started.
How to create your first ad?
STEP 1: Define your objective
In Business tools – Ads manager, click the green Create button and choose your objective, what you want to achieve with your ad:
- AWARENESS – you want to raise awareness and increase the reach of information about your brand or company to people
- CONSIDERATION
- TRAFFIC – you guide users to come to your website via a FB ad and become potential customers
- ENGAGEMENT
- Getting likes, comments, and shares on the ad
- App downloads,
- Video views,
- Lead generation – you create a simple contact form on Facebook where your potential customers enter their details (name, email) so you can contact them later via email and consequently sell them something
- Using Facebook messages
- CONVERSION – most people use this type of ad for the actual sale of products or for a very specific action on your website that you want the customer to take. How can you track what the customer does on your site, where they get stuck, and whether a sale happens?
STEP 2: Set up your Facebook Pixel
All of this can be tracked through the Facebook pixel. This is a special tracking code that is an essential component for optimizing Facebook ads. It allows you to see how customers behave on your website and what they do, and ultimately, whether a conversion happens or not. You can see exactly how much money they spend, so you can monitor your ROI in Facebook Business Manager and gain a complete understanding of how well your ads are performing.
How to create a Facebook pixel?
Go to Business tools – Events Manager – Connect a data source – Web – Facebook pixel – connect – name your pixel – insert the URL of your website. If you have a website that integrates well with the Facebook pixel (e.g. Shopify, BigCommerce, Kajabi, Joomla, Hubspot, etc.), some additional work is made easier for you. Select Partner installation and the Facebook pixel integrates quickly. Alternatively, you can install it manually (Manually install).
STEP 3: Ad settings
Once you have selected and defined the ad objective, you can already name your Ad set. The easiest approach is to name it in a way that quickly distinguishes it from others, e.g. hairstyle enthusiasts.
Daily budget
Choose your budget. Facebook automatically offers a daily budget of €20, but it is recommended that you reduce this daily budget at least at the beginning, until you first determine which ads are successful and adjust them based on their performance. Facebook uses an algorithm that determines when and whether an ad will be shown and what the CPC will be. A daily budget of €5 is most recommended for starters, and you can always increase this based on results. It is not recommended to set an ad spend lower than €5 per day, because you won’t give the algorithm enough opportunity to optimize your ad in order to actually get the desired conversions.
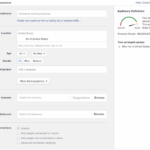
Target audience and targeting
Next comes the selection of the target audience. Custom based audience is connected to retargeting and works by tracking Facebook Pixels. When creating your first ad, it is sufficient to start by selecting Saved Audience, meaning you will define the interests and demographics of your desired target audience on the platform.
Select the location (country, city) where you want your ad to be displayed. Pay attention to which users you mark – those who live there (most recommended) and not those who were recently at that location – these are usually just tourists passing through. You can also specify age and gender.
You can also use detailed targeting. With this, using the data that Facebook has, you can also include information about education, financial status, marital status, employment, employers, and interests – what they have liked, what past purchases they have made, and more. Explore. The possibilities are endless.
In the upper right side, you can see an indicator that shows you how many people could potentially see this ad with the targeting you are setting. You can further narrow your targeting selection (narrow), meaning that in addition to the selected interest, they also like another interest at the same time. Don’t overcomplicate the narrower targeting. Choose, for example, one or two criteria so that you have control over who you are targeting and will know exactly who your ads appeal to more. If you set 5 or more, you will lose the thread and it becomes very difficult to follow. If you wish, rather separate these interests into separate Ad sets and control them more easily that way.
Ad placement
In Placements, you choose where Facebook should display your ad. It can be on the Facebook news feed, on Instagram, in video feeds, stories, or on the stream. If you select Manual placement, you decide for yourself where users will be able to see your content. For most people, the Facebook news feed delivers the highest conversions, and the Instagram news feed is also effective. To start, you can also leave it on Automatic placements, since you don’t yet know what will bring the best conversions until you run the ad. After about a week, check where most of your sales are coming from and then select Manual placements and choose only those that bring you the highest conversion.
STEP 4: Creating the ad – the visual part
For your ad, you can use a single image, a Carousel ad (multiple images or videos), or a collection (a collection of images or videos). Facebook prioritizes videos in the news feed. You can also select an existing post on your Facebook page or create a new ad.
For video, a square 1:1 dimension is recommended for maximum compatibility on both mobile devices and desktop computers. Videos shorter than 15 seconds tend to perform best.
The image should be at least 600×600 pixels, and a square dimension is also recommended to take up maximum space in the Facebook news feed.
On the right side, you have a preview of the video or image across different placements.
Primary text is the text above the video or image. Add emojis to liven up the text. It is very important here that the very beginning of the text immediately grabs attention, so that the user does not scroll further down the news feed.
Add a headline.
Description is the text below the image, which you can also see immediately in the preview. Include well-thought-out phrases. Be clear and original.
Also add the URL of your website.
Select the appropriate Call to action button (shop now, learn more, book now, contact us, …)
Make sure the correct Facebook pixel is selected for tracking, so that you can track your customers correctly and also so that Facebook can optimize your ad based on user reactions.
It can take up to 24 hours before your ad starts showing – it will be in pending (awaiting approval) status. Facebook will first review it through its algorithms to make sure you are not violating any of their rules.
STEP 5: Monitoring and analyzing results
Where can you check the data once your ad is already running?
In Business Manager under campaigns, you have many sections that display a lot of useful data. Frequency tells you how many times people have seen your ad, unique link clicks tells you how many people actually clicked on your website, you can see the amount you have spent – quality ranking (cost per result). You can also customize these columns so that only the ones relevant to you are displayed.
Account overview – here you can see how much money you have spent on ads, what the reach of your ads is, how many purchases were made on the website, the age, gender and location of users, and the time with the most conversions.
You will very quickly discover what you are doing right and what you are doing wrong, and you will be able to further optimize your ads for successful sales. And don’t forget. An ad is not something fixed, but allows you to adjust it based on its sales performance.
Don’t miss the invitation:
If you would like to learn even more tips and concrete guidance for successful selling through Facebook, you can watch the free Facebook webinar, which takes place every Monday. Register here – https://zannekrep.com/brezplacni-webinar4/